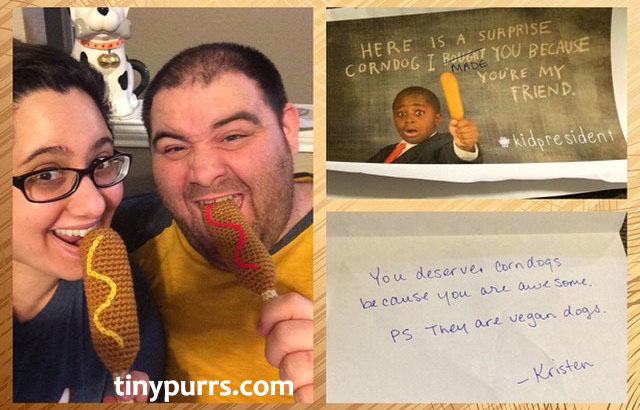
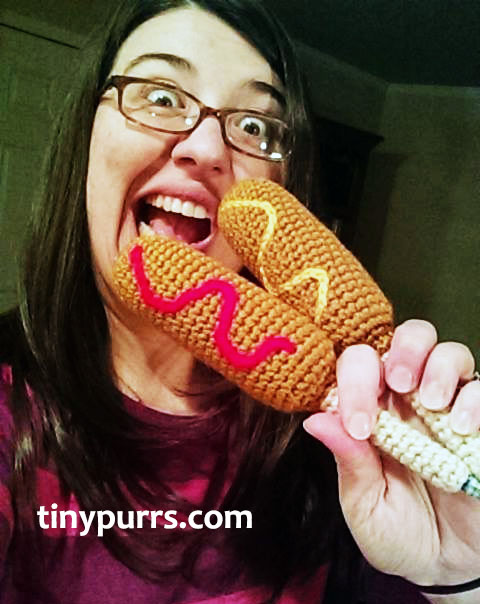
Corn Dog Pens
Kid President says mailing corn dogs to people is awesome. Actual corn dogs seemed a bit messy to me, so I whipped up these corn dogs pens to send instead.
- Worsted Weight yarn in beige and brown (I use Vanna’s Choice Beige and Honey)
- Small amount of yellow or red yarn for mustard or ketchup (optional)
- 3.5 mm / E crochet hook
- Polyfill for Stuffing
- Pen (I recommend Bic Round Stic pens)
- Tapestry Needle for sewing
- Scissors
For the corn dog stick, using beige yarn:
- Chain 6, join to form a ring.
- Working in spirals (not joining every round), sc around for length of pen, approximately 22 rows or 4 3/4 inches.
- Finish off, leaving a tail for sewing. Sew the top of the stick closed and weave in ends.
For the corn dog, using brown yarn:
- Start with a magic ring.
- 6 sc in magic ring. (6 sts)
- 2sc in each st around. (12 sts)
-
1 sc, 2sc in next st, repeat around. (18 sts)
-
sc around (18 sts)
-
5 sc, 2sc in next st, around (21 sts)
-
sc for 20 rounds
-
Next, if you want to add mustard or ketchup, surface crochet a wavy line of either color or both, on to your corn dog. Then, start stuffing your corn dog with polyfill. You want it to be well stuffed but still leave some open room towards the bottom center where you can insert a pen.
-
sc 5, dec, repeat around (18 sts)
-
sc 1, dec, repeat around (12 sts)
-
Stuff corn dog with more Polyfill as needed.
-
Dec, repeat around (6 sts)
-
Finish off, leaving a 8 inch tail for sewing. Put your stick cozy on your pen. Then insert the stick into the bottom of the corn dog. Sew corn dog into position and weave in end.
Now that you’ve made some corn dogs, send ’em to your friends as a surprise and watch their hilarious reactions!
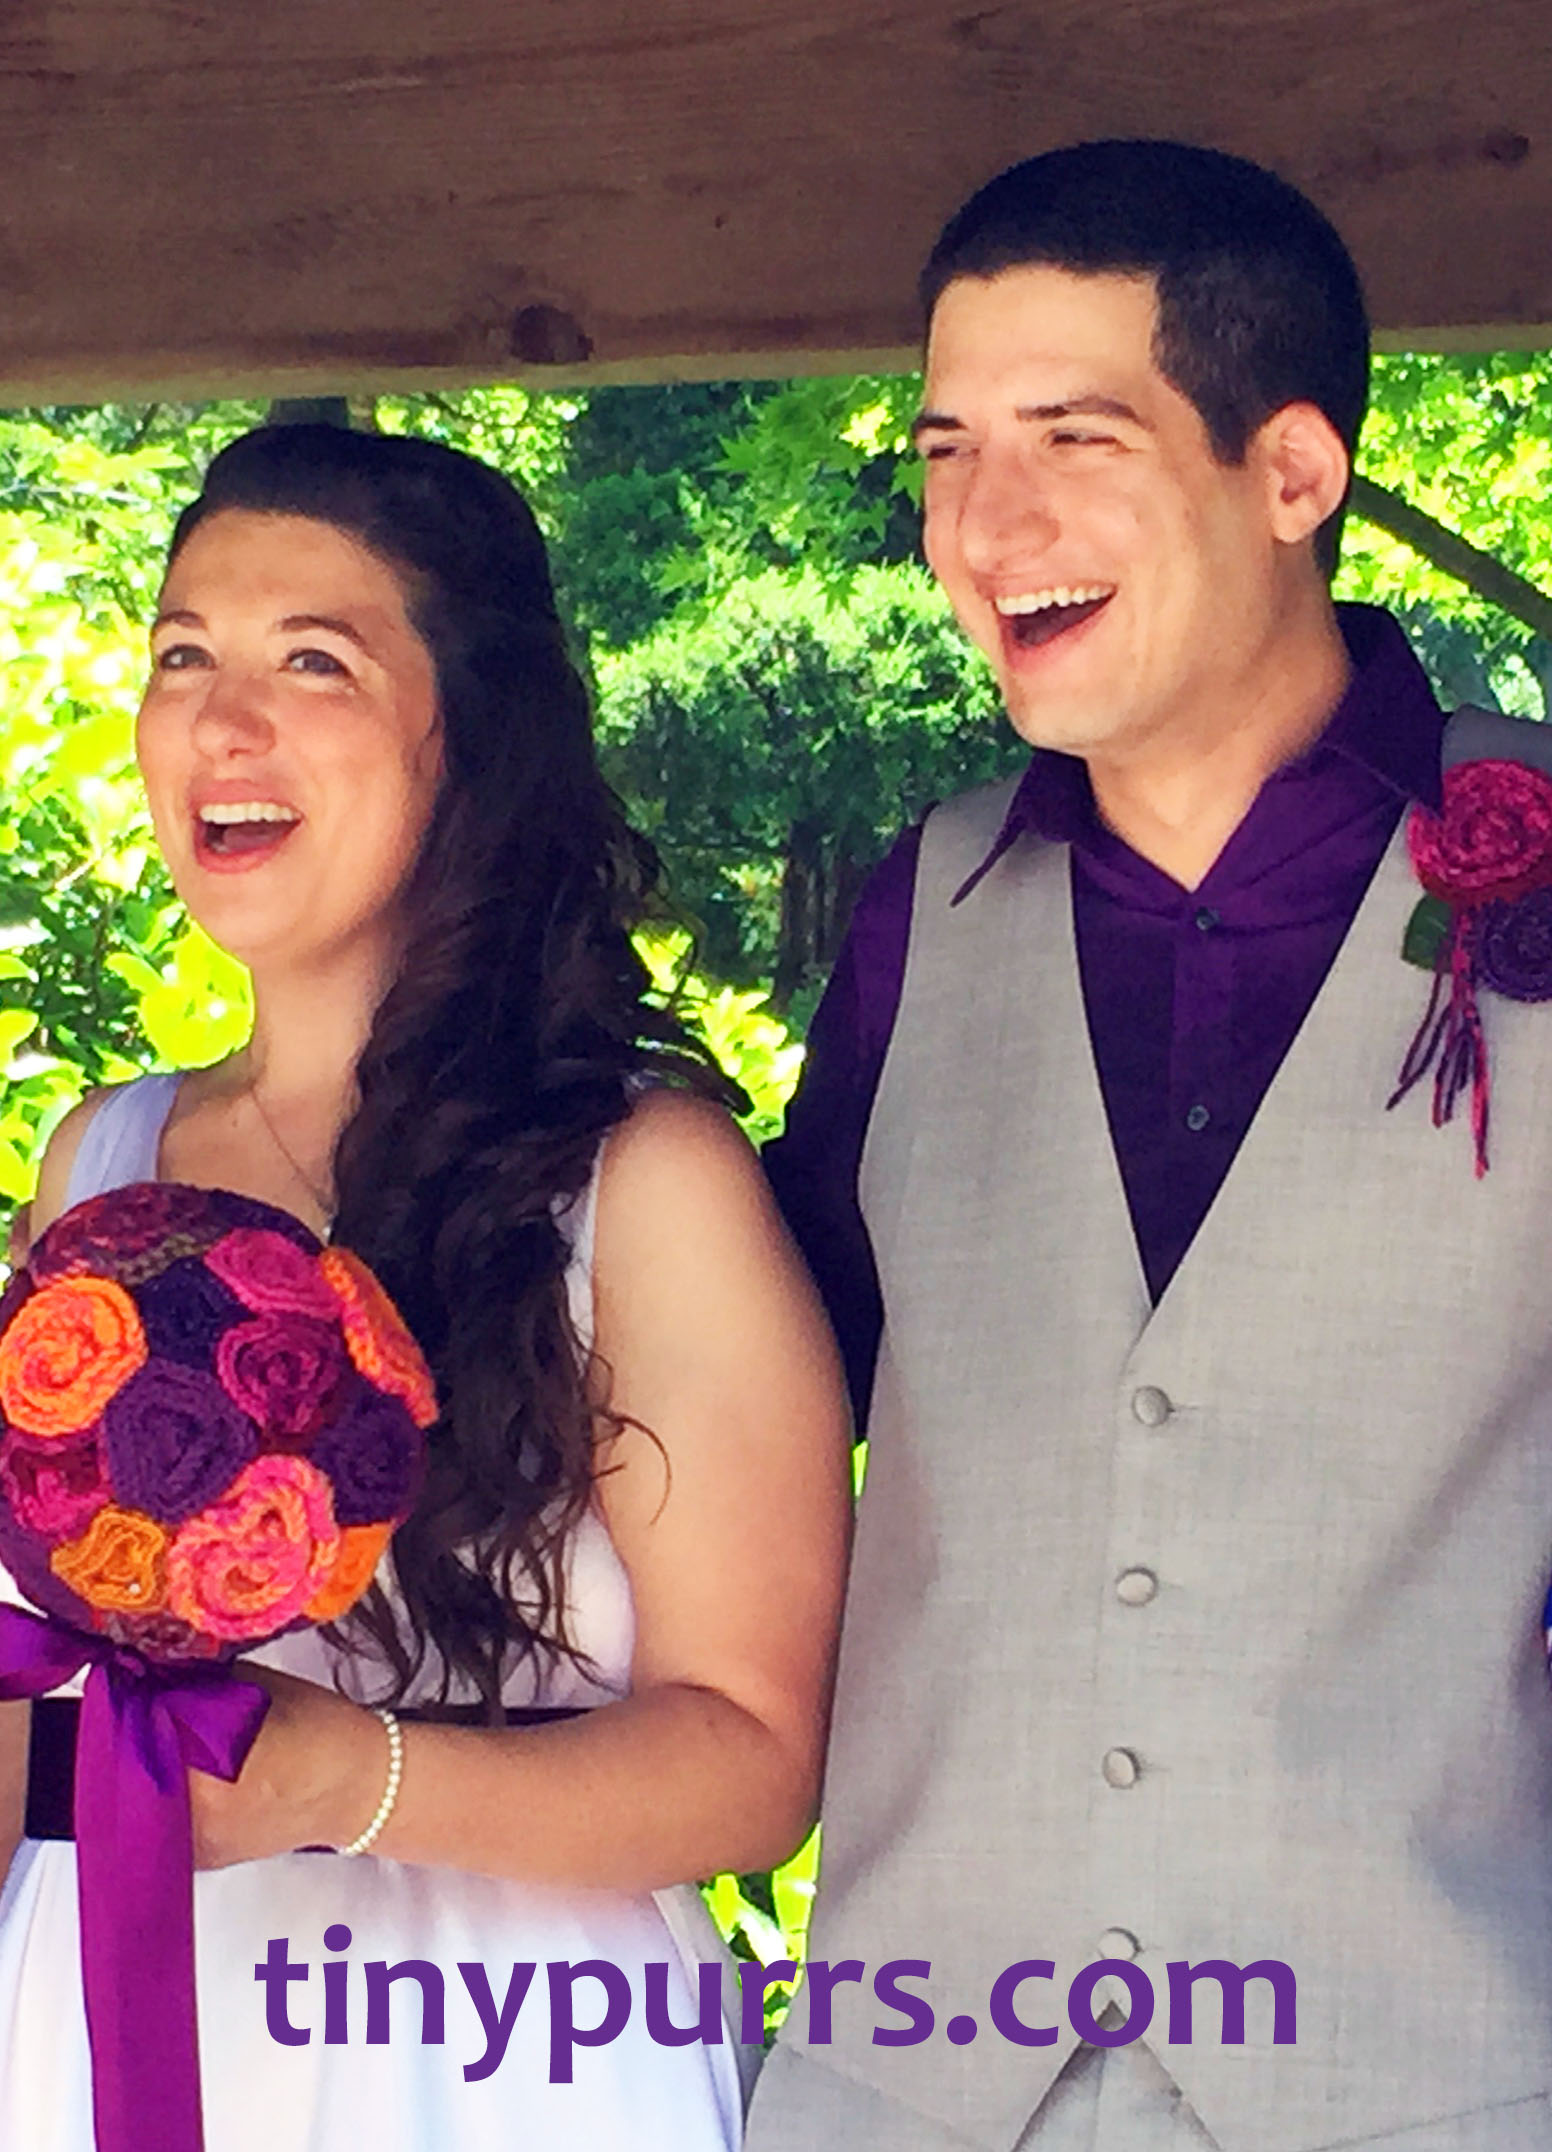
Wedding Boutonniere Tutorial
 Hey, folks, it’s me again with another wedding craft for you – boutonnieres and corsages.
Supplies:
- Knit or Crochet Flowers of your choice (I used the Rose Field Baby Blanket by Tanya Sh on Ravelry)
- Wool Felt in green or desired backing color
- Pin Back
- Embroidery thread and sewing needle
- Scissors and an optional circle cutter if you have one
- Pencil, paper and tape
- Glue gun and glue sticks
First, make your flowers. Depending on their size, you might want two or three per boutonniere. Or make more for a corsage. Instead of sewing in my yarn ends, I chose to leave them loose. This is totally optional, depending on the look you want.
Next, arrange your flowers together so you have an idea of how you want them placed.
On paper, trace around the bottom or draw a base for each flower. Cut out these base templates. If you want leaves, cut leaf templates out of paper also. Tape them together in the configuration you want.
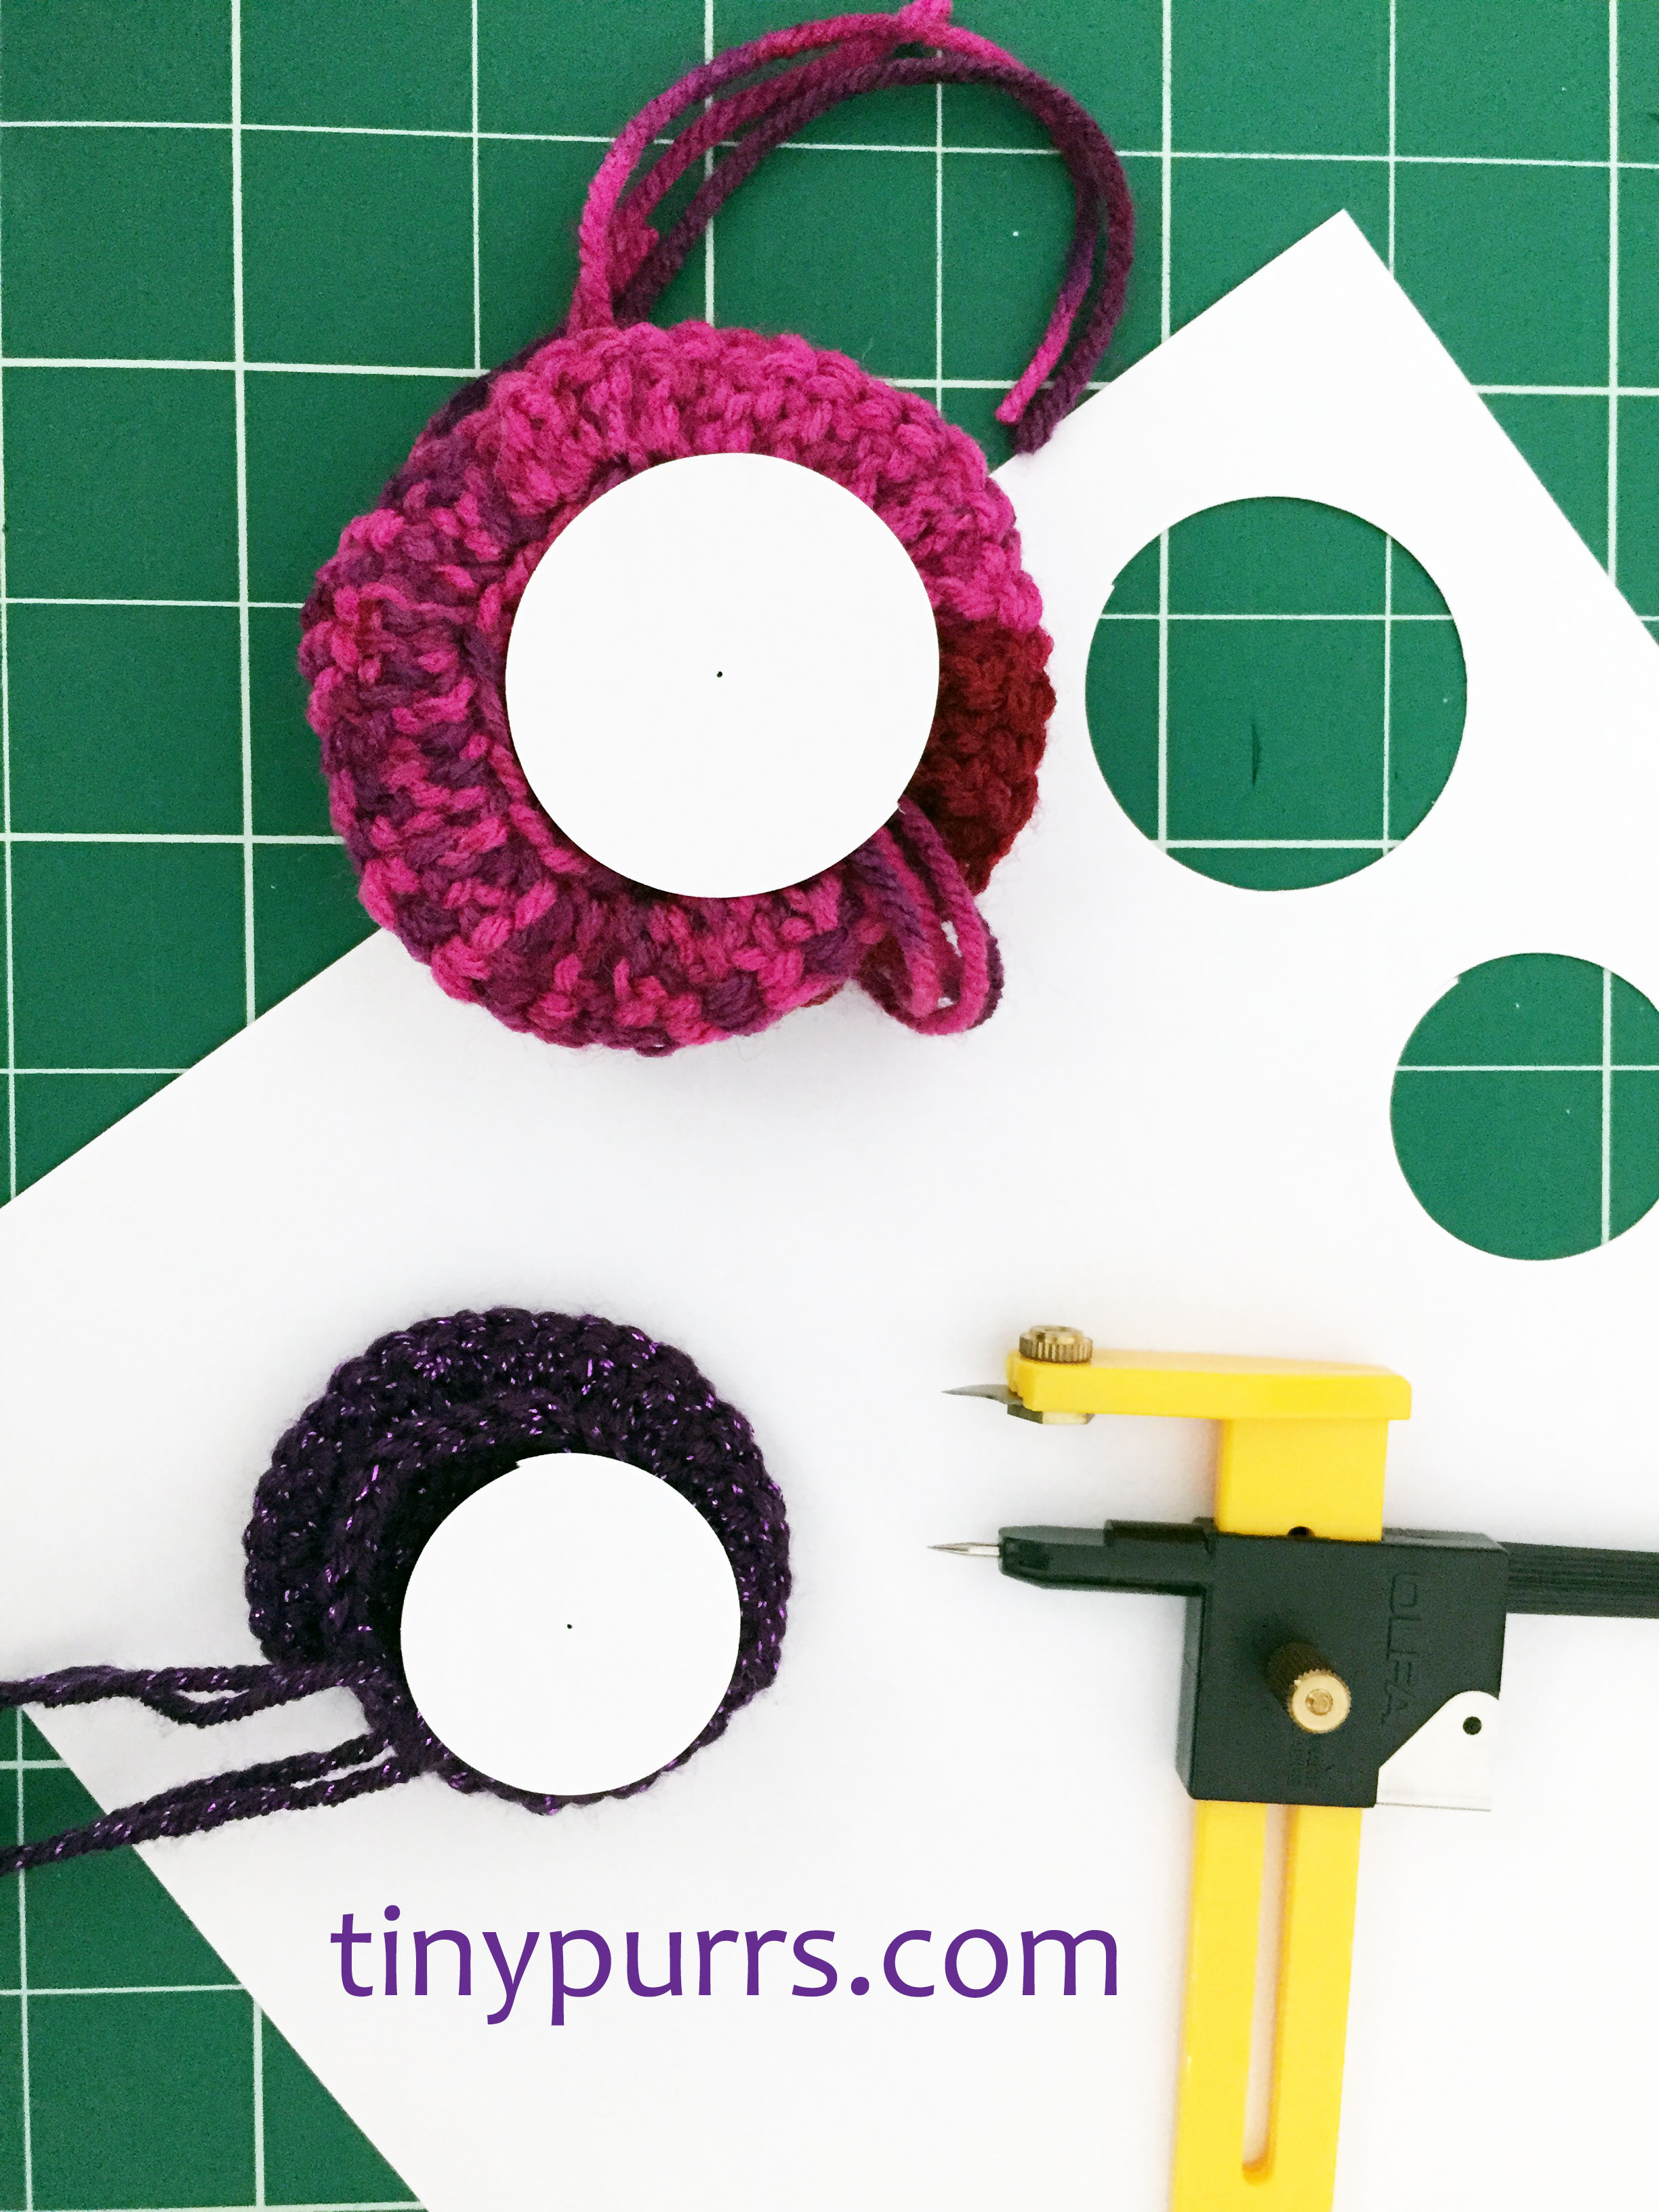
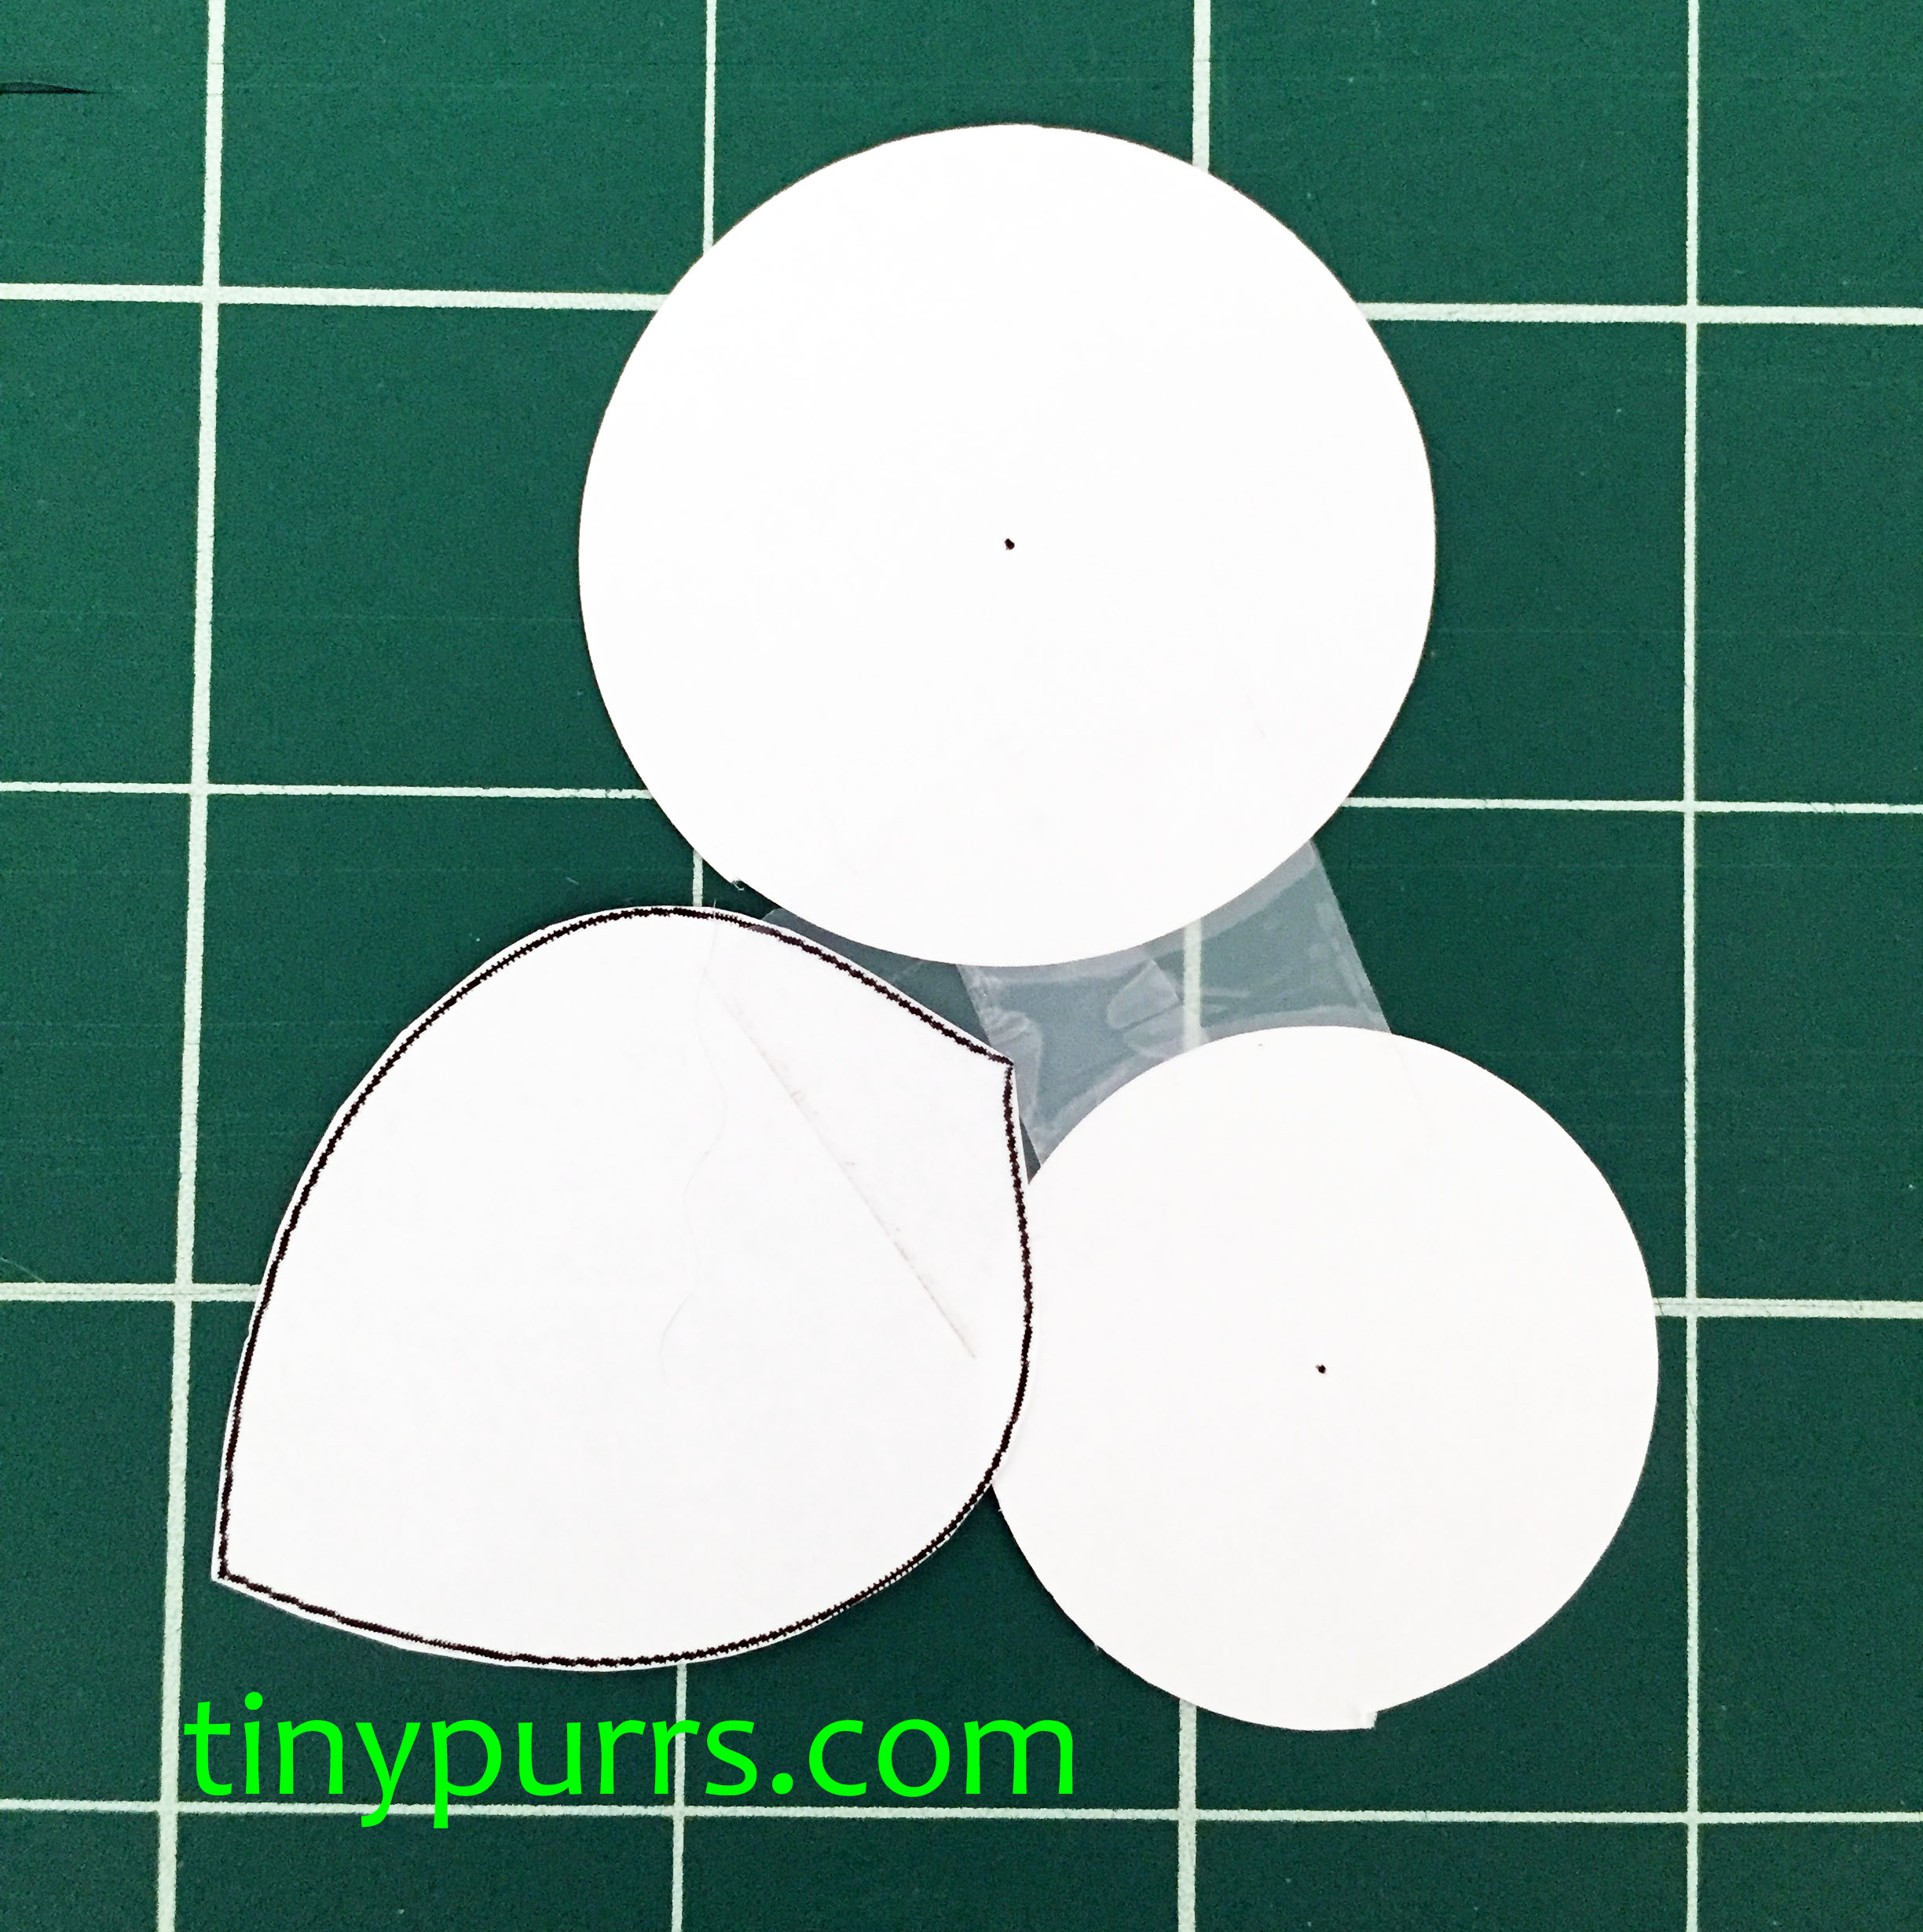 Use your paper template to cut a final felt version. I also cut out an additional leaf to cover up the back side of my embroidery.
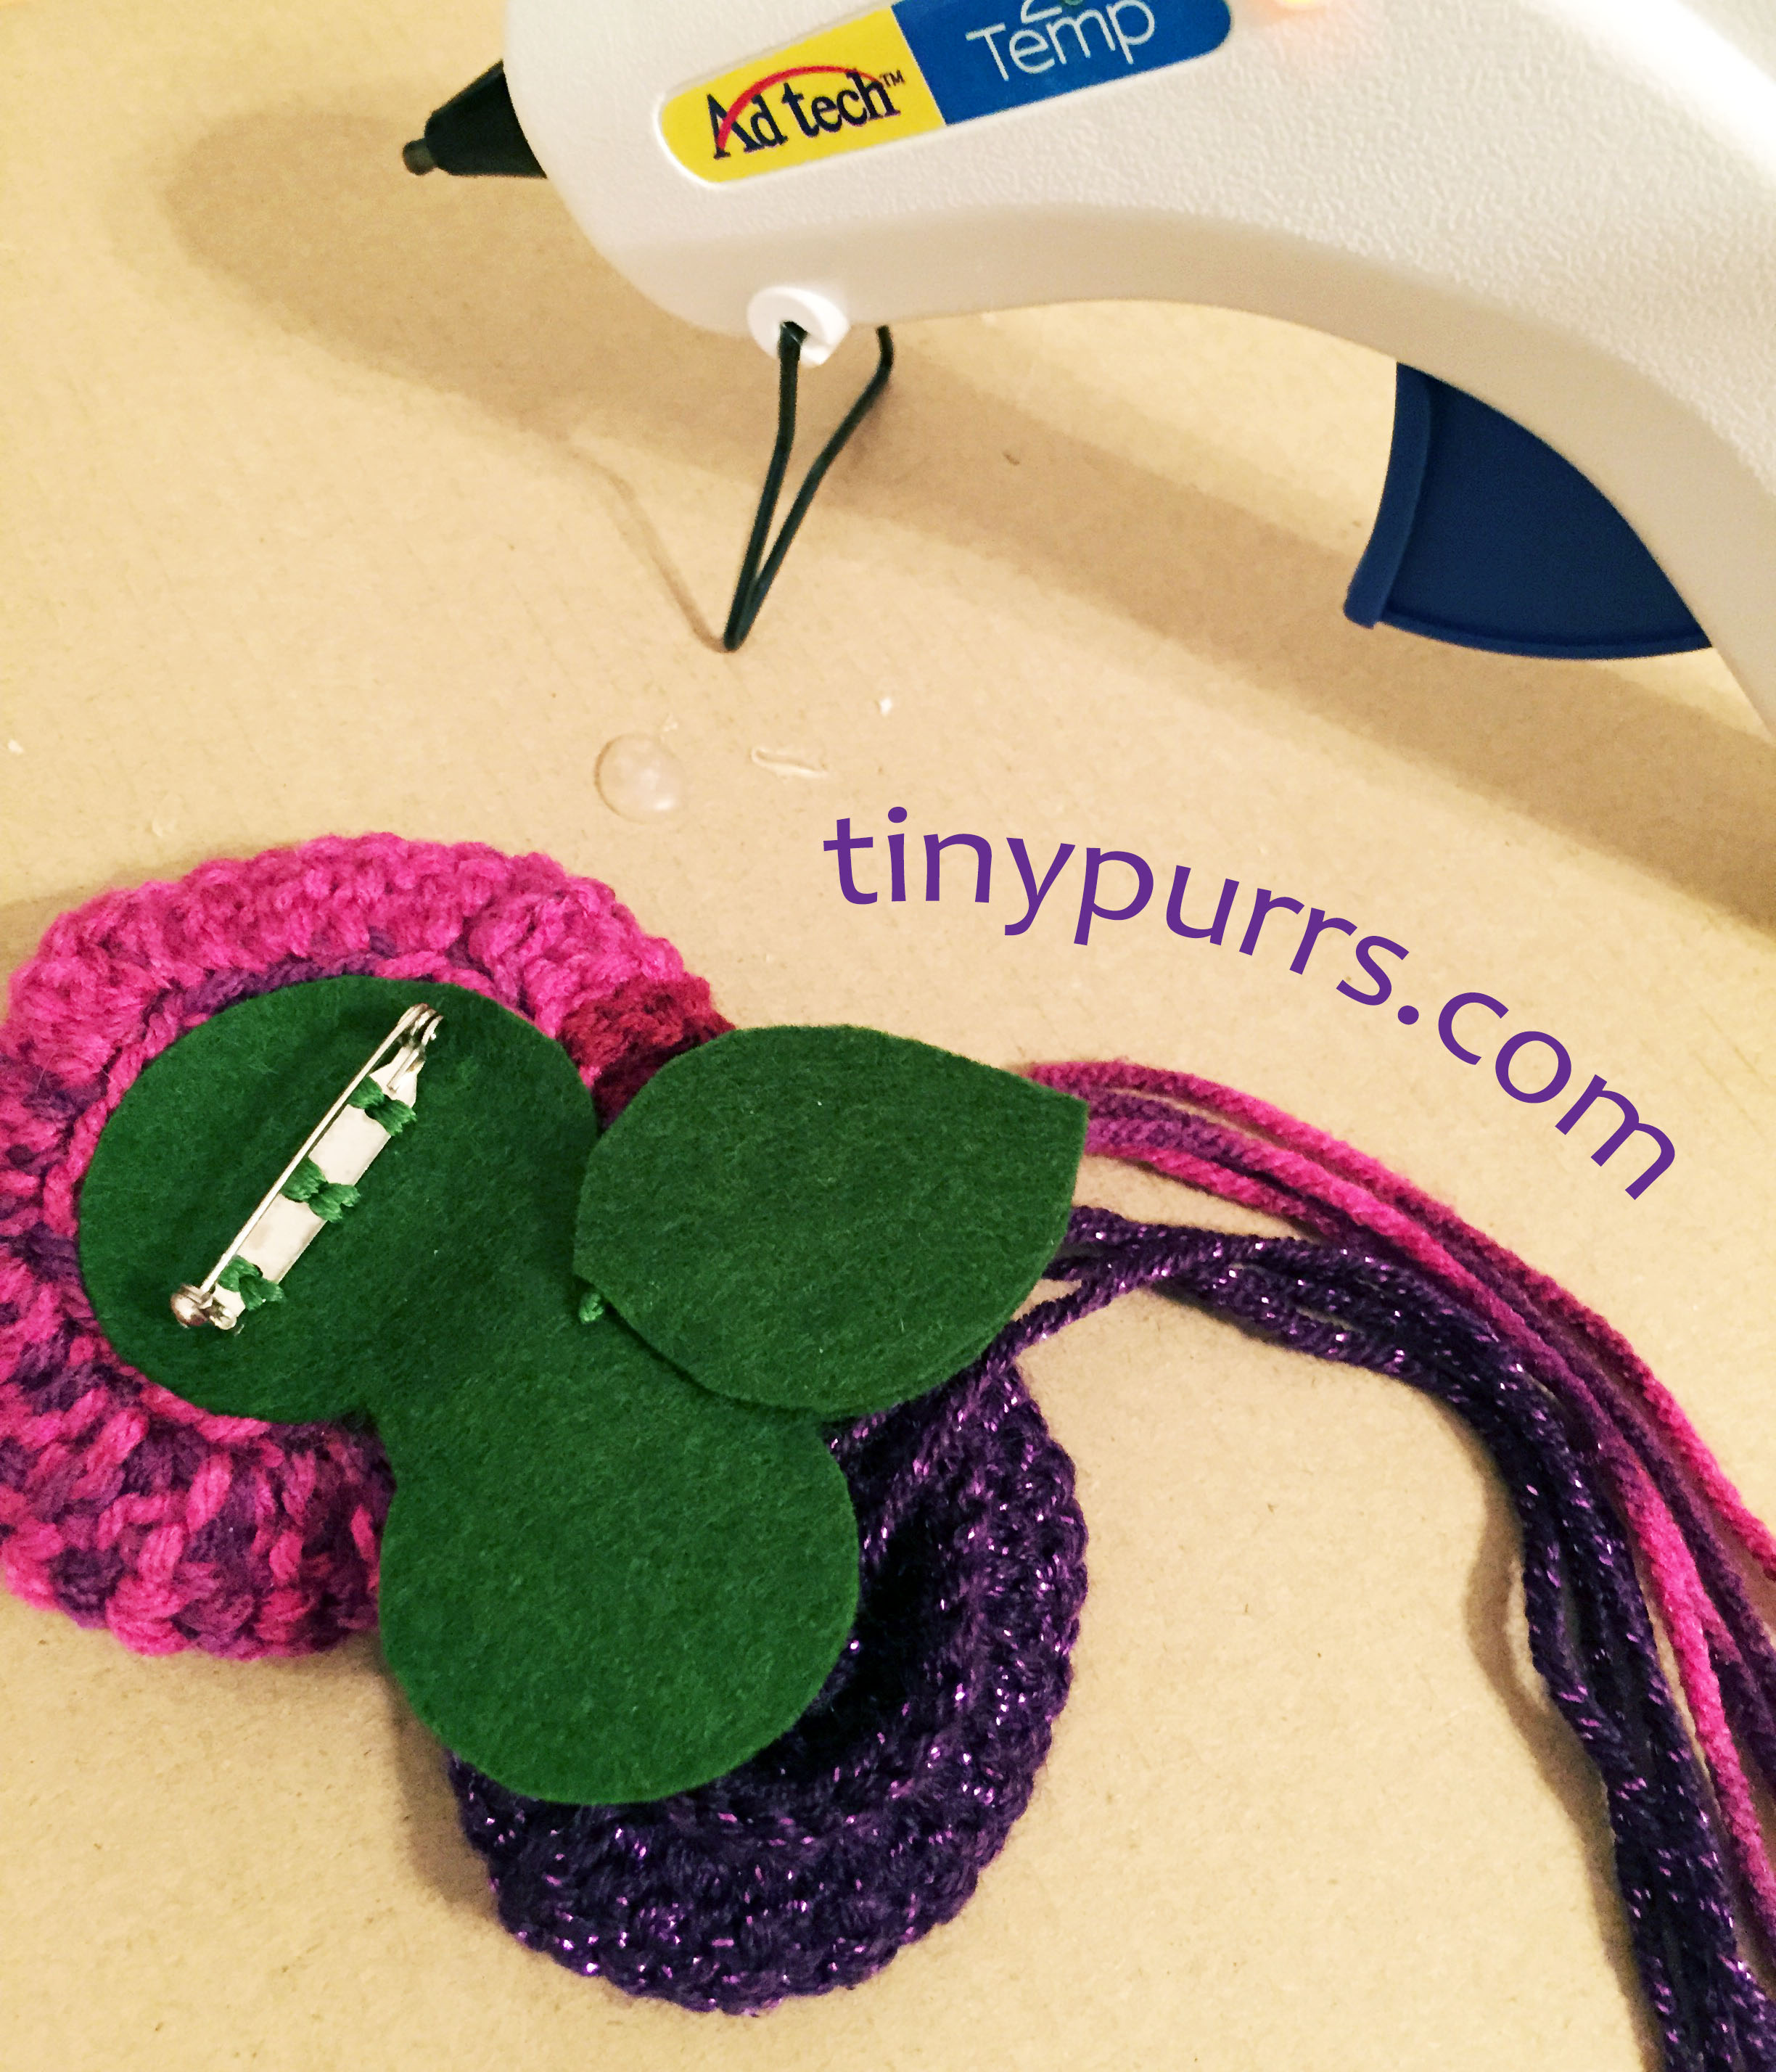
Using embroidery thread, sew the pin back on to the BACK of the felt. If you are using leaves, you can optionally embroider veins on the FRONT of the felt.
Hot glue the flowers onto the FRONT of the felt. I glued the flowers individually, allowing the glue to cool between placing each one.
 These are super easy to make and could be used for any occasion, such as Easter or graduations. If you want a matching wedding bouquet, check out my tutorial here.